Translating a circuit schematic into a PCB layout is a crucial step in the electronic design process. A well-structured schematic ensures a smooth transition to layout, reducing design errors and improving manufacturability. This article outlines the step-by-step process of converting a schematic diagram into a PCB layout using Electronic Design Automation (EDA) tools such as Altium Designer, KiCad, or Eagle.
Table of Contents
1. Schematic Design Preparation
Before exporting the schematic to PCB layout, it is essential to ensure that the design is well-organized and error-free. Key considerations include:
Component Selection: Use appropriate footprints that match available PCB libraries.
Electrical Rule Check (ERC): Run an ERC to identify open nets, missing connections, or rule violations.
Net Labeling and Organization: Assign meaningful net names to simplify routing in the PCB layout.
Component Grouping: Arrange related components together to optimize PCB placement and minimize trace lengths.
2. Assigning PCB Footprints
Each component in the schematic must have a corresponding footprint for placement in the PCB layout. This step involves:
Library Selection: Using standard or custom PCB footprint libraries.
Footprint Verification: Ensuring that footprint dimensions match manufacturer specifications.
Pad Size and Hole Alignment: Confirming proper pad sizes and through-hole alignment to avoid manufacturing issues.
3. Netlist Generation and Import
A netlist is a file that contains electrical connections between components. Generating and importing a netlist into the PCB editor ensures correct mapping between the schematic and the layout. Steps include:
Exporting the netlist from the schematic editor.
Importing the netlist into the PCB layout tool.
Verifying that all components and connections are correctly transferred.
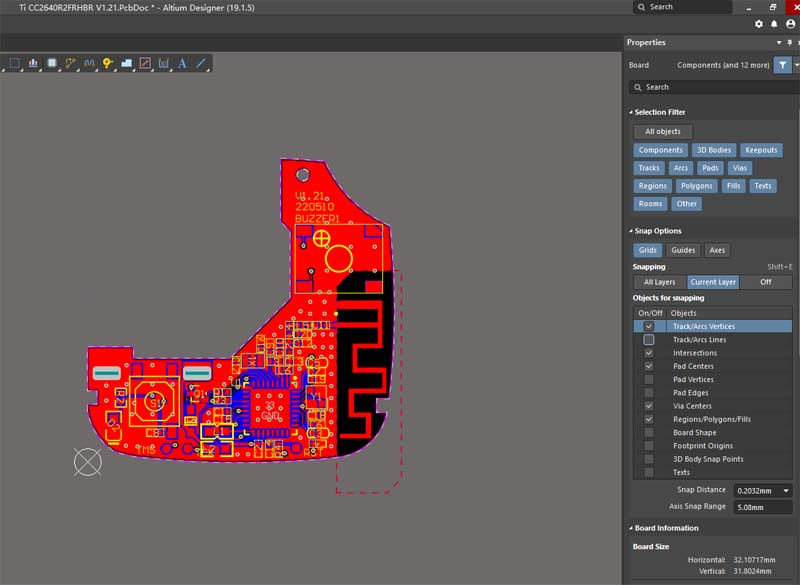
4. Component Placement
Once the netlist is imported, the components need to be arranged on the PCB. Best practices for placement include:
Grouping functional blocks: Keeping related components close to reduce trace length and signal integrity issues.
Placing critical components first: Positioning microcontrollers, power components, and connectors before other components.
Ensuring clearance: Maintaining adequate spacing between components for manufacturing and assembly.
5. Routing the PCB
Routing connects the components as per the schematic. Considerations include:
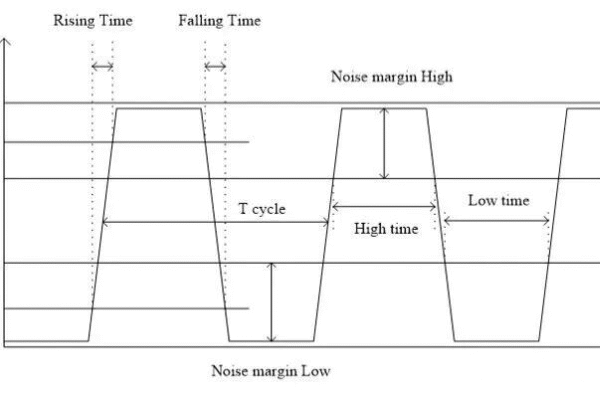
Signal Integrity: Minimizing interference for high-speed and sensitive signals.
Power and Ground Planes: Using solid planes to reduce noise and improve power distribution.
Trace Width and Spacing: Following design rules based on current requirements and manufacturing capabilities.
Via Placement: Using vias efficiently to interconnect different PCB layers.
6. Design Rule Check (DRC) and Final Review
Before finalizing the layout, run a Design Rule Check (DRC) to identify any violations, such as:
Minimum trace width and spacing errors
Unconnected nets
Component clearance issues
A final review of the layout ensures all design specifications are met and the PCB is ready for fabrication.

7. Generating Gerber Files for Manufacturing
Once the layout is complete and verified, the next step is to generate Gerber files for PCB fabrication. The required files typically include:
Copper layers (Top, Bottom, and Inner layers if multilayer)
Solder mask and silkscreen layers
Drill file for vias and mounting holes
Assembly and fabrication drawings
Conclusion
Converting a circuit schematic to PCB layout involves careful planning, verification, and adherence to design rules. By following best practices such as proper footprint assignment, optimal component placement, and rigorous design checks, designers can ensure a smooth transition from schematic to layout, leading to a reliable and manufacturable PCB.