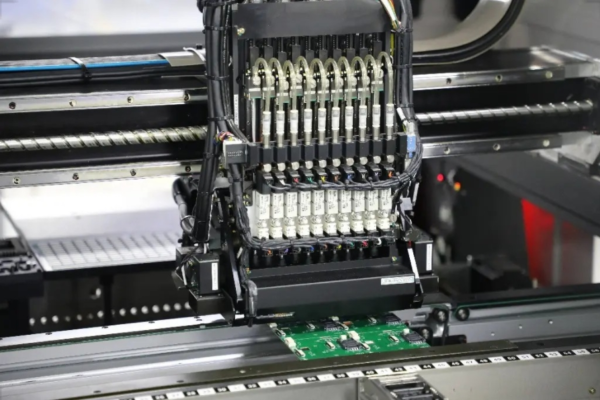
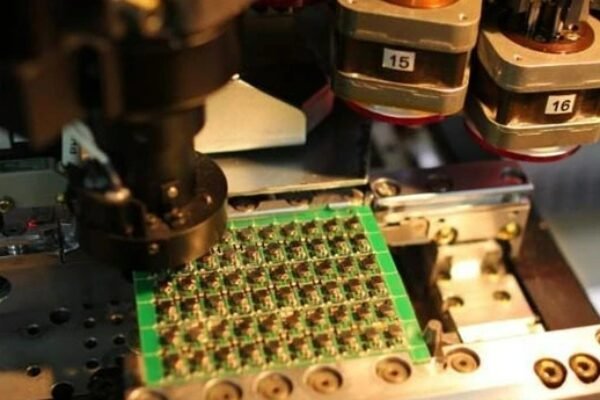
PCBA Hardware testing in prototyping refers to the systematic process of testing and evaluating various electronic devices, components, and their associated parts. This type of inspection is crucial for ensuring PCBA product quality, performance stability, and operational safety. In modern industrial production, hardware testing has become an essential step before product release and serves as a critical tool for equipment maintenance and fault diagnosis. Below, China PCB manufacturer will share some relevant content about PCBA hardware testing.
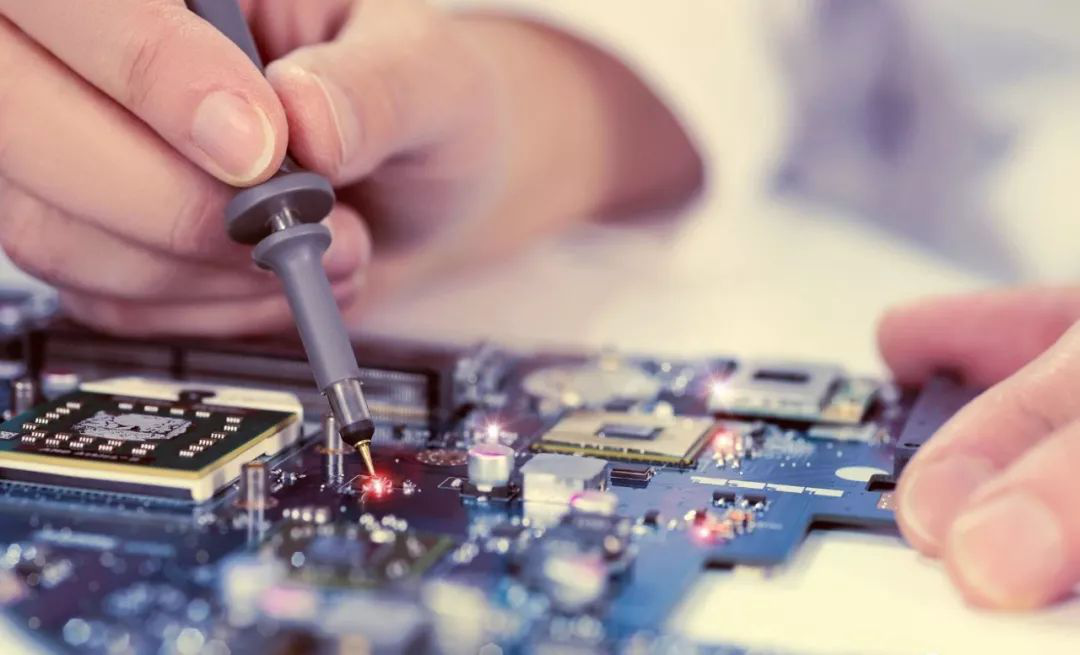
Table of Contents
I. Pre-Power Hardware Inspection
After a circuit board is soldered, before testing whether it functions properly, it is generally not advisable to power it immediately. Instead, follow the steps below to ensure no issues exist before applying power:
1. Check for Correct Connections
Carefully reviewing the schematic is crucial. Focus first on verifying that the power supply and network node labels for chips are correct, and ensure there are no overlapping network nodes. Another key aspect is checking component packaging—packaging type, pin order, etc. Avoid using top-view packaging, especially for SMD on-pin-through-hole components.
Verify connections for errors, such as incorrect, missing, or extra lines.
Two common methods for checking connections:
1) Follow the circuit diagram to inspect the installed wiring in a systematic order.
2) Compare the actual wiring to the schematic, focusing on each component’s pins to ensure all connections exist in the circuit diagram.
To avoid mistakes, mark inspected lines on the schematic. Using a multimeter’s continuity test (buzzer mode) to directly measure component pins is recommended, as it can also detect poor connections.
2. Check for Power Supply Short Circuits
Before powering up, measure the input impedance of the power supply with a multimeter—this is a mandatory step! A short circuit can damage the power supply or cause more severe consequences.
For the power supply section, using a 0-ohm resistor as a debugging method is advisable. Do not solder the resistor initially; first, check if the power supply voltage is normal, then solder the resistor to power subsequent units. This prevents damage to chips due to abnormal voltage. Adding protection circuits, such as resettable fuses, is also recommended in the design.
3. Inspect Component Installation
Focus on checking polarized components, such as LEDs, electrolytic capacitors, and rectifier diodes, as well as ensuring the correct pin alignment for transistors. For transistors, note that pin configurations may vary by manufacturer. Using a multimeter to test is advisable.
Perform open and short circuit tests to ensure no short circuits occur after power-up. Well-placed test points can significantly improve efficiency. Using 0-ohm resistors can also aid in high-speed circuit testing.
Only after completing the above pre-power inspections should you proceed to power-up testing.
II. Power-Up Testing
1. Initial Power-On Observation
After powering on, do not rush to measure electrical parameters. Instead, observe the circuit for any abnormal phenomena, such as smoke, unusual smells, or overheating ICs. If abnormalities occur, immediately disconnect the power and troubleshoot before reapplying power.
2. Static Debugging
Static debugging refers to DC testing without applying input signals or with fixed-level input signals. Use a multimeter to measure potentials at various points in the circuit. Compare these values with theoretical estimates and analyze the circuit to determine if the DC operating state is normal. Replace components or adjust parameters if necessary to meet design requirements.
3. Dynamic Debugging
Dynamic debugging builds on static debugging. Apply appropriate input signals to the circuit and follow the signal flow to test output signals at various points. If abnormalities are detected, analyze the cause, troubleshoot, and repeat debugging until requirements are met.
Avoid relying on intuition during testing; always use instruments for observation. When using an oscilloscope, set the input mode to “DC” coupling to observe both AC and DC components of the signal simultaneously.
Through debugging, verify that functional blocks and the entire system meet design specifications (e.g., signal amplitude, waveform shape, phase relationships, gain, input/output impedance). Adjust circuit parameters if necessary.
III. Additional Tasks in Electronic Circuit Debugging
1. Define Test Points
Based on the working principles of the system, plan debugging steps and measurement methods. Identify and mark test points on schematics and the board. Create data recording tables for debugging.
2. Set Up a Debugging Workspace
Equip the workspace with necessary instruments, arranged for convenience and ease of observation. Keep the workspace clean and organized.
3. Select Measurement Instruments
Choose instruments with accuracy superior to the system under test. For software debugging, ensure access to computers and development tools.
4. Debugging Sequence
Follow the signal flow during debugging, using the output of previously debugged sections as input for subsequent stages. This facilitates overall system integration.
5. System Integration and Debugging
For digital circuits implemented with programmable logic devices, complete source file input, debugging, and downloading. Integrate programmable logic devices with analog circuits for system-level debugging and performance testing.
During debugging, carefully observe and record experimental phenomena to ensure data integrity and reliability.

IV. Precautions in Circuit Debugging
The accuracy of debugging results heavily depends on correct measurements and precision. To minimize errors and improve accuracy, consider the following:
1. Proper Grounding of Test Instruments
For instruments with grounded chassis, ensure the instrument’s ground is connected to the amplifier’s ground. Improper grounding can introduce interference, affect circuit operation, and cause measurement errors.
For example, when measuring Vce in an emitter bias circuit, avoid directly connecting the instrument between the collector and emitter. Instead, measure Vc and Ve relative to ground and calculate the difference. For battery-powered multimeters with floating inputs, direct measurement across test points is acceptable.
2. High Input Impedance for Voltage Measurements
Use instruments with input impedance much higher than the equivalent impedance at the measurement point. Low input impedance can cause shunting and significant errors.
3. Adequate Instrument Bandwidth
Ensure the test instrument’s bandwidth exceeds the circuit’s bandwidth.
4. Appropriate Test Point Selection
Measurement errors due to instrument internal resistance vary with test point selection. Choose points carefully.
5. Convenient Measurement Methods
Prefer voltage measurements over current measurements to avoid modifying the circuit. Calculate current by measuring voltage across a known resistor.
6. Detailed Recording
Record experimental conditions, observations, measurements, waveforms, phase relationships, etc. Reliable records help identify design issues and refine solutions.
V. Troubleshooting During Debugging
Thoroughly investigate faults instead of hastily disassembling and reassembling circuits. If the issue is design-related, reassembly won’t resolve it.
1. General Troubleshooting Methods
For complex systems, pinpointing faults among numerous components and connections can be challenging. Start from the fault phenomenon, perform repeated tests, analyze, and gradually narrow down the fault location.
2. Common Fault Phenomena and Causes
– Faults: Amplifier output without input, no output or abnormal waveforms with input, power supply issues (no output, overvoltage, poor regulation), oscillator failure, unstable counter waveforms, etc.
– Causes: Component failure, short or open circuits, or changes in operating conditions over time.
3. General Fault Detection Methods
- 1) Direct Observation: Check instrument usage, power supply polarity, component orientation, wiring, and board integrity. Look for burnt components, smoke, overheating, or unusual smells.
- 2) Multimeter Static Check: Measure DC operating points (power supply, transistor/IC pins, resistor values). Significant deviations from expected values indicate faults. Oscilloscopes in DC mode can also measure static points while displaying waveforms and noise.
- 3) Signal Tracing: Inject a signal (e.g., 1 kHz sine wave for amplifiers) and use an oscilloscope to trace the signal stage by stage. Abnormalities at any stage indicate a fault there.
- 4) Comparison Method: Compare parameters (current, voltage, waveforms) with a known good circuit or theoretical values to identify discrepancies.
- 5) Component Substitution: Replace suspected components or boards with known good ones to isolate faults.
- 6) Bypass Method: Use capacitors to temporarily bypass suspected oscillation sources. If oscillations cease, the fault is nearby.
- 7) Short-Circuit Method: Temporarily short sections to locate open circuits. Avoid shorting power sections.
- 8) Open-Circuit Method: Disconnect sections to locate short circuits. For example, if a power supply is overloaded, disconnect branches one by one to identify the faulty branch.
In practice, multiple methods may be combined to locate faults. A typical troubleshooting sequence:
1) Use direct observation to identify obvious faults.
2) Check static operating points with a multimeter or oscilloscope.
3) Apply signal tracing for dynamic debugging—a universal and intuitive method.
VI. Conclusion
As a critical component of product quality assurance, the importance of hardware testing has become increasingly prominent with the rising complexity of electronic devices. Through systematic testing procedures and advanced inspection technologies, potential issues in hardware products can be effectively identified, ensuring that product performance meets design specifications and usage standards.