In the world of electronics, having a brilliant idea is only the beginning. The true challenge lies in bringing that idea to life—turning it from a concept into a tangible product that can function and perform as intended. One of the most crucial skills in this process is soldering components onto a PCB (Printed Circuit Board). Whether you are designing your first circuit or perfecting a prototype, mastering the art of soldering is essential to ensuring your creation works seamlessly.
Table of Contents
What is Soldering?
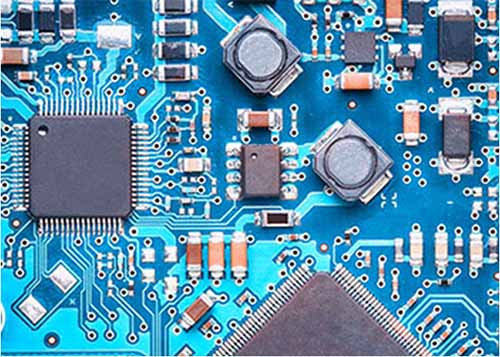
Soldering is a process where a filler metal (solder) is melted and used to join two or more components to a PCB. The result is a permanent electrical connection that allows components to function in the circuit. While the soldering technique itself is relatively simple, achieving high-quality connections and avoiding common mistakes requires practice and attention to detail.

Why is Soldering Important?
The soldering process serves as the backbone of any electronic circuit assembly. It’s what holds all the components together and ensures that electricity flows smoothly between them. Incorrect soldering can lead to circuit failures, short circuits, or damage to sensitive components, ultimately causing the malfunction of the entire device.
A solid solder joint ensures:
Electrical Connectivity: Proper soldering creates reliable electrical paths between components.
Mechanical Strength: A good solder joint provides physical strength to hold components in place.
Thermal Management: Soldering helps in heat dissipation, especially for high-power components.
What tools do you need?
Before you dive into soldering, you’ll need to gather a few essential tools:
Soldering Iron: This is the primary tool used for heating the solder. It should have a fine tip for precision and temperature control for better accuracy.
Solder: Solder typically comes in a spool and is usually made of a combination of tin and lead or lead-free alloys. Lead-free solder is preferred for most modern applications, as it’s more environmentally friendly.
Soldering Iron Tip Cleaner: This is used to keep the tip clean and free from residue, ensuring a smoother soldering process.
Desoldering Pump and Wick: These tools are essential if you make a mistake and need to remove excess solder or rework a connection.
Tweezers: Useful for placing small components on the board with precision.
Flux: Flux is used to help solder flow more easily, ensuring cleaner and stronger joints.
What are the steps for soldering components on PCB?
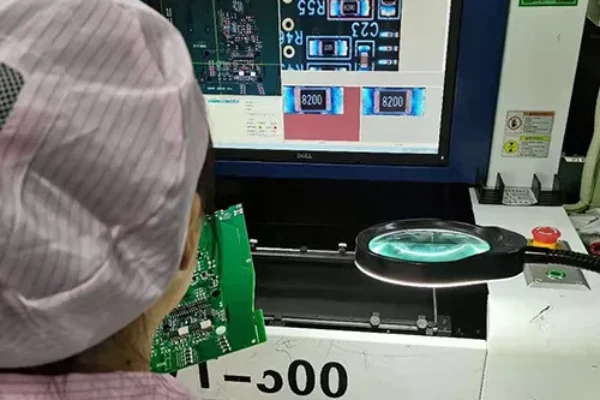
1. Prepare Your WorkspaceA clean and well-lit workspace is critical to success. Ensure you have enough room to work and keep all your tools organized. A magnifying glass or soldering microscope can be invaluable when working with small components.
2. Insert Components Into the PCBBefore soldering, carefully insert the components into the appropriate holes or pads on the PCB. Make sure to follow the PCB design, paying attention to component orientation (polarity) and values.
3. Heat the Soldering IronTurn on your soldering iron and let it heat up to the appropriate temperature (typically around 350°C or 660°F). The soldering iron should be hot enough to melt the solder but not so hot that it damages the board or components.
4. Solder the Component LeadsPlace the soldering iron tip onto both the component lead and the PCB pad. After a second or two, apply the solder to the joint (not directly to the iron). Once enough solder has flowed onto the joint, remove the solder and the iron. Let the joint cool for a few seconds to form a solid connection.
5. Inspect the JointA good solder joint will have a shiny, smooth appearance with a “volcano” shape. It should cover both the pad and the component lead without being excessive. If there is too much solder, you can use a desoldering pump or wick to remove the excess.
6. Repeat for All ComponentsWork through the entire PCB, soldering all the components. Start with the components that are closest to the board (typically smaller ones like resistors and capacitors), and finish with the larger components such as ICs or connectors.
7. Clean Up the BoardAfter all components are soldered, use isopropyl alcohol and a brush to clean off any remaining flux residue, which can cause short circuits or interfere with the circuit’s performance.
How to avoid common welding errors?
Cold Joints: These occur when the solder doesn’t flow properly, leading to weak electrical connections. Always ensure both the PCB pad and component lead are heated evenly.
Solder Bridges: This happens when excess solder connects two pads, causing a short circuit. Carefully inspect each joint to avoid this.
Overheating Components: Some components, especially sensitive ICs, can be damaged by excessive heat. Always avoid leaving the soldering iron on a component for too long.
Wrong Soldering Tools: Using the wrong type of soldering iron tip, too much solder, or improperly cleaned tips can affect the quality of your solder joints.
What are effective welding techniques?
Use a good quality soldering iron with adjustable temperature control for precision.
Always tin the tip of the soldering iron before use. This ensures heat transfer and helps avoid damage to the tip.
Practice on scrap boards before attempting to solder your actual design. This allows you to become comfortable with the process.
Use flux generously to help the solder flow better.
Work in small batches when soldering components, focusing on a few connections at a time to avoid confusion.
Conclusion
Soldering components onto a PCB may seem intimidating at first, but with patience and practice, it becomes an invaluable skill for any electronics enthusiast or professional. Each successful solder joint brings you one step closer to realizing your ideas and turning them into real, functioning devices. Whether you’re prototyping, repairing, or designing from scratch, learning to solder effectively is one of the most rewarding aspects of working with electronics. It’s not just about the technical process—it’s about creating something tangible from your imagination and knowledge, which is the essence of innovation. So, pick up that soldering iron and make your ideas real!

-600x400-c.png)