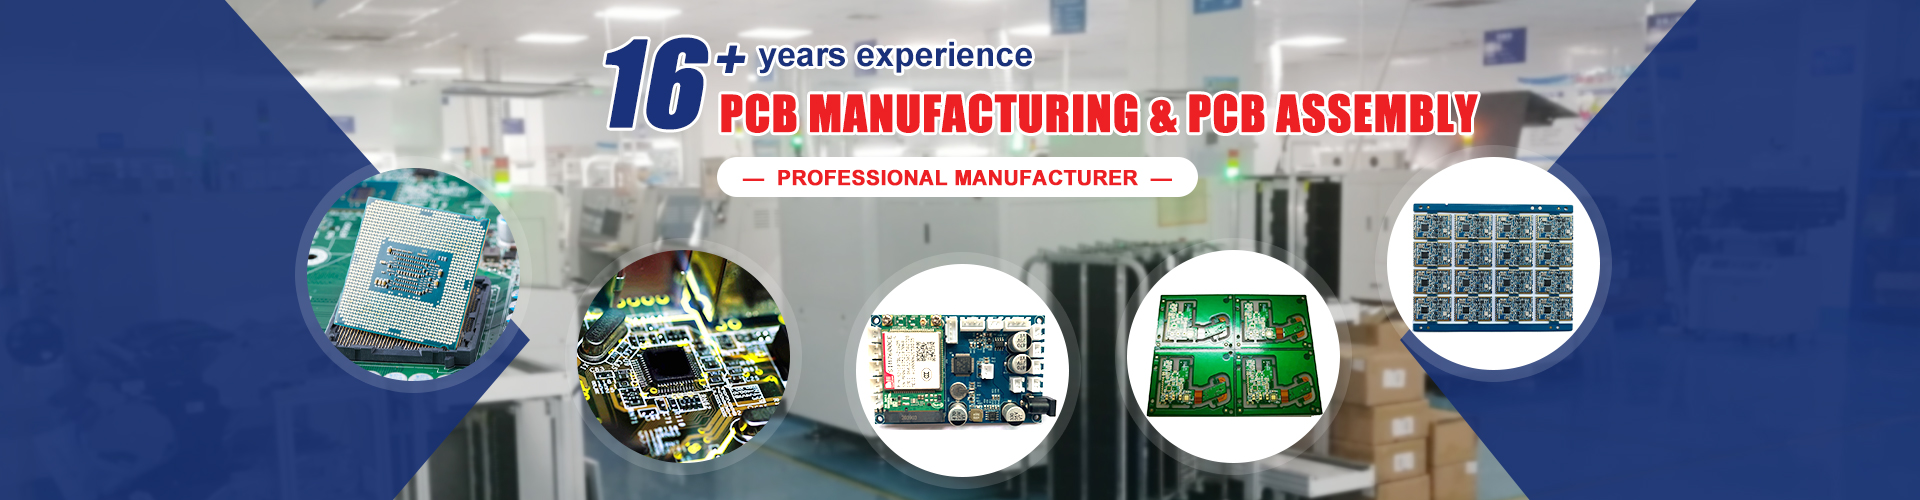
Precision PCB Fabrication, PCB Assembly, DIP Assembly, BGA Assembly etc..
We provide the most competitive PCB & PCBA services.
- All
- Product Name
- Product Keyword
- Product Model
- Product Summary
- Product Description
- Multi Field Search


In the manufacturing process of Metal Core PCBs (Printed Circuit Boards), there are five critical steps that ensure the quality and efficiency of the process. Paying attention to these details can significantly impact the final product's performance.
During the aluminum PCB layer imaging process, it is essential to use a 0.3 mm epoxy board, which matches the size of the aluminum PCB board. Use tape to secure and seal the edges to prevent solution infiltration. After treating the copper surface, the best practice is to use chemical micro etching. Post-etching, baking followed by applying a wet film can prevent oxidation.
After etching the aluminum PCB, it is crucial to immediately use an SN solution for stripping. This step helps in maintaining the integrity and cleanliness of the PCB surface.
Side etching can affect trace accuracy. To meet precision requirements, it is necessary to compensate during artwork creation. The compensation values must be adjusted according to the thickness of the side etching, and the artwork should be negative to account for this.
Using a standardized board size of 300 x 300 mm is recommended. Additionally, the aluminum surface should be protected with a film to prevent damage and contamination.
During the etching process of aluminum PCBs, it is crucial to use test boards to adjust the solution for optimal results. A metallographic microscope is typically used to inspect the copper thickness of the via holes in the PCB, ensuring the etching quality meets the required standards.
By focusing on these critical steps, manufacturers can achieve higher precision and reliability in their metal core PCB products. Consistent quality control and process optimization are vital in maintaining competitive in the PCB manufacturing industry.
For more information on PCB manufacturing and best practices, visit our blog or contact us.


